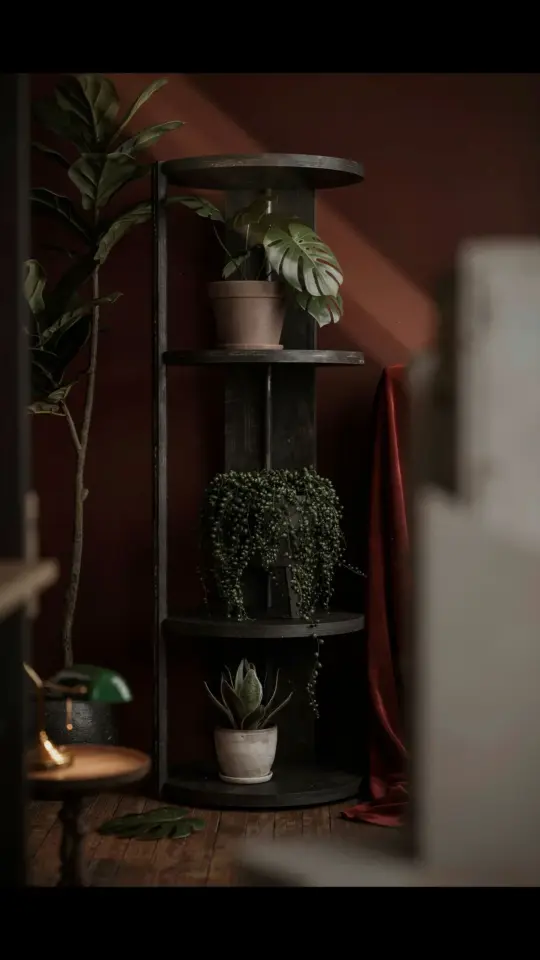
I have a confession. I almost walked right past this pile of broken wood. It was raining. The pallet looked like a soggy mess. But I spotted the grain underneath the grime and thought: I can turn that into a modern pallet plant stand. Honestly, the finished piece sits in my living room now and it gets more compliments than my expensive couch. This DIY project is proof that sustainable style doesn’t have to look rustic. It can be sleek. It can be intentional. And it can actually fit the quiet luxury trend of 2024 without breaking the bank.
Why I Specifically Chose a Heat-Treated Pallet (and Not Just Any Free Wood)
Look, the first pallet I grabbed smelled vaguely of soy sauce and regret. Not the vibe I was going for. You want to look for the “HT” stamp. Heat treatment means it is safe for indoor use and free of harsh chemicals. That matters when your new plant shelf is going to live right next to your sofa. The grain on these HT pallets is usually tighter too. Better for a smooth, modern finish. I got mine from a local flooring supply store. They were just giving them away. Ask around, most places are happy to see them go.
The “Before” Reality (Splinters, Nails, and a Lot of Doubt)
Social media makes pallet projects look easy. They are lying a little bit. (Or they just have much better tools than I do). My “before” photo shows a board with a nasty gouge, a broken slat, and three bent nails that I definitely hit with my hammer by accident. Funny, not funny. I almost scrapped the whole idea right there. But I really wanted a tall plant stand for my fiddle leaf fig. Buying one online that looks this clean costs around 200 dollars. That hurt my soul. So I pushed through the frustration. Here’s the thing: the uglier the start, the better the before and after reveal. Trust the process, even when your thumb is sore.
Minimal Tools, Maximum Effort (The Realistic Supply List)
You don’t need a full workshop. But you do need patience. Specifically for the sanding part. Here is what I actually used:
- A heat-treated pallet. Free from a local warehouse. Make sure the slats are mostly straight.
- Circular saw. A jigsaw works too if you are a glutton for punishment. A hand saw? Just buy a different piece of wood honestly.
- Orbital sander. Buy extra pads. You will go through them. I like 45 grit, then 120, then 220.
- Wood glue and a nail gun. A hammer and nails work but they seriously test your patience on the third try.
- Danish oil. Do not use glossy polyurethane. It ruins the modern, soft feel. Danish oil soaks in and highlights the natural wood.
Leave a Comment