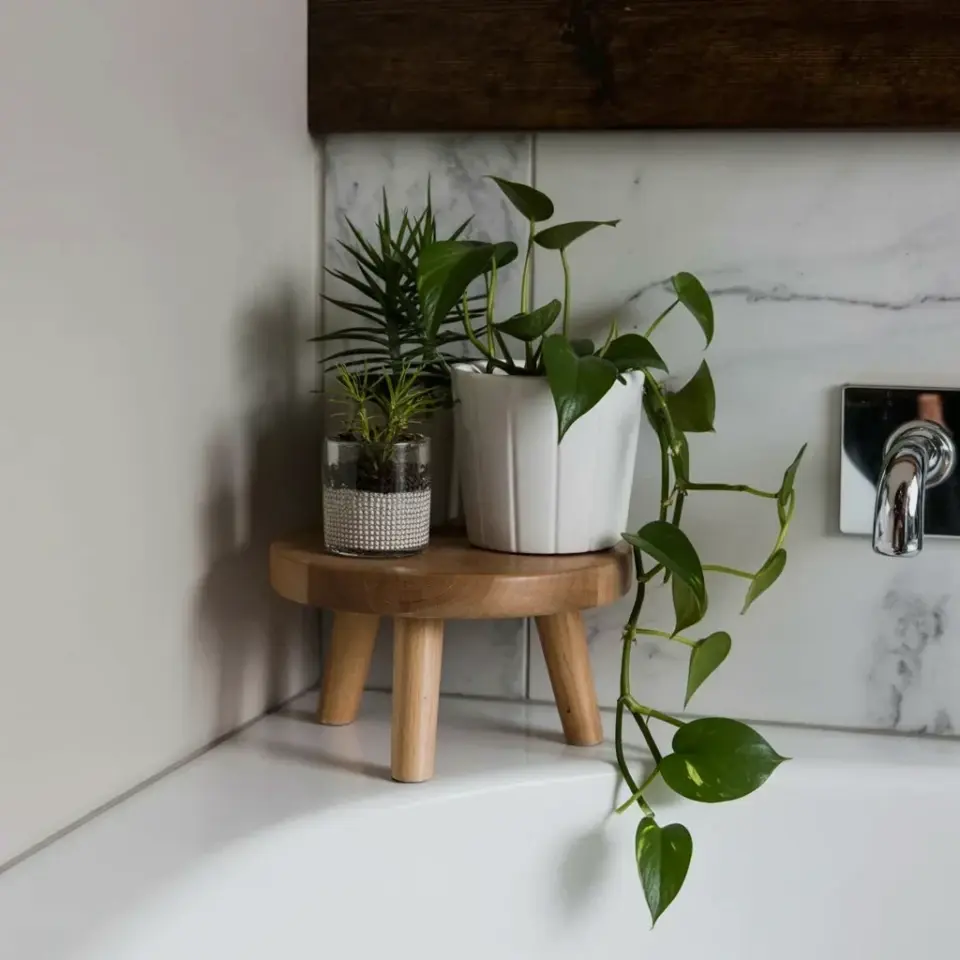
I spent four dollars on a wooden crate at the local dollar store and turned it into a plant stand that actually looks good. Not gonna lie, I was skeptical at first. But after an afternoon of sanding, painting, and arranging my sad little pothos on it, I realized this budget plant stand could totally pass for something from a trendy home decor shop. And here’s the kicker: the whole thing cost less than ten bucks. If you have a boring corner that needs some life, this is the easiest project you’ll do all month.
Why a wooden crate makes the perfect cheap plant stand
Look, most plant stands at big-box stores are either overpriced or flimsy. You spend twenty dollars on a wire thing that wobbles, and three weeks later it’s rusted. I wanted something solid. A wooden crate from the dollar store is surprisingly sturdy. The wood is light but not brittle, and the slatted design already has that farmhouse vibe people pay for. Plus, the open gaps let excess water drain right through, which means no soggy roots. Honestly, it’s the most functional two-by-two-foot piece of lumber you can buy for pocket change.
I found mine in the craft section, but you can also grab one from the storage aisle. They often stack them near the baskets and bins. Just make sure the slats are all nailed tight. Sometimes a corner will be loose, but a little wood glue fixes that in seconds.
Tools and materials you need for this DIY shelves project
Here’s what I used. Bare minimum, no fancy workshop required.
- One wooden crate (dollar store, make sure it’s clean and splinter-free)
- Sandpaper (medium grit, like 120, and a fine 220 for the finish pass)
- A damp cloth to wipe dust off
- Paint or stain (I used a leftover sample of matte black chalk paint, but a clear polyurethane also works if you want raw wood)
- Small foam brush or a rag for staining
- Optional but nice: felt pads for the bottom so it doesn’t scratch your floor, and a little pot saucer if you’re worried about water rings
That’s it. No power tools required. You could literally do this on a coffee table while watching TV. I sanded mine on my back porch and annoyed the neighbor’s cat. (She kept trying to eat the wood dust. Weird cat.)
Step-by-step: How to turn a crate into a budget indoor plant idea that works
First, sand the whole thing. The dollar store wood is rough in places, and you don’t want splinters in your hands every time you move your plant. Work from medium grit to fine grit, and wipe the dust off with a damp cloth. Let it dry for ten minutes.
Second, decide on a finish. I painted mine chalk black because my apartment has a lot of white walls, and I wanted contrast. But a natural stain with a hint of walnut color looks incredible if you prefer warmer tones. You can even leave it raw and just seal it with a clear wax. Here’s the thing though: raw wood will absorb moisture and eventually warp, so at least put on a coat of sealer.
Third, apply your paint or stain. Two thin coats work better than one thick gloppy coat. Let each coat dry fully, usually an hour. While you wait, rearrange your plants. That’s part of the fun anyway, right?
Finally, add felt pads to the four bottom corners. This keeps the crate from scratching your floor and also makes it easy to slide around if you need to vacuum underneath. Then pop your potted pothos on top, or use the crate sideways as a little shelf unit. Yes, you can flip it on its side and stack two smaller plants inside the cubby. That’s how I use mine now.
Paint it or leave it raw? Cheap decor decisions that save you money
I’m a big fan of the raw wood look, but not for every room. In my living room, the natural crate clashed with the gray sofa. So I painted it. That cost me zero extra dollars because I already had the paint from a previous project. If you don’t have paint lying around, a small bottle of craft acrylic is like two bucks. Or skip paint entirely and just apply a clear matte varnish. That protects the wood without covering its texture.
One thing I learned the hard way: don’t use glossy paint. It shows every fingerprint and dust speck. Stick to matte, eggshell, or chalk finishes. They hide sins. And if you want a distressed look, just sand the edges lightly after painting. Takes thirty seconds and makes it look like an antique.
Honestly, I think the raw crate with a coat of tung oil looks the most “Instagram.” But I’m lazy about maintenance, so I painted mine. Do what fits your vibe and your tolerance for upkeep.
Where to put your new DIY plant stand for maximum impact
This crate stand is small. Mine is about 12 inches by 12 inches by 8 inches tall. That means it fits in awkward spots. I put mine on a narrow ledge next to my entryway table. It holds a trailing pothos and makes that corner feel intentional instead of empty. You could also put it on a windowsill, a bathroom counter, or a bookshelf. Actually, stacking two crates on top of each other (secured with a little wood glue) makes a taller plant stand for about eight bucks total. I haven’t tried that yet, but it’s on my weekend list.
Another idea: use the crate upside down, so the open side faces the wall, and the flat bottom becomes a tabletop. Then you can set a candle or a small book next to the plant. It’s not a huge change, but it adds a layered look that people notice.
My honest review after two months of using a dollar store crate as a budget plant stand
Ok so here’s the part where I get real. It’s not perfect. The wood is soft, so if you water your plant heavily and the pot doesn’t have a saucer, the crate will absorb moisture and start to darken. Use a saucer. I didn’t at first and now there’s a faint water ring on my top slat. That’s fine, it adds character. But if you’re a perfectionist, seal the top surface with two coats of waterproof polyurethane before you put any plant on it.
Also, the crate is lightweight. That’s good for carrying, but bad if you have a crazy cat that likes to knock things over. My cat hasn’t bothered this one, but I did glue some small rubber feet to the bottom for extra grip. Solved the problem. Anyway, for four dollars and thirty minutes of effort, I’m thrilled. It holds my pothos, looks cute, and nobody has ever guessed it came from the dollar store.
A few bonus plant DIY tips for the budget-conscious decorator
If you want to stretch your dollar further, try these ideas:
- Buy two crates and stack them with a small piece of plywood on top for a two-tier shelf.
- Spray paint the crate in a metallic color like copper or rose gold. It looks shockingly expensive.
- Use the crate as a holder for three tiny terracotta pots. The slats keep them in place.
- Add a strip of battery-powered LED fairy lights around the inside edge. Instant cozy plant nook for under fifteen bucks total.
Don’t overthink it. This is a weekend project that costs less than a fast-food lunch and gives you a permanent piece of decor. You can always repaint it if you get bored.
So there you go. If your wallet is crying after the last plant haul and your corners look sad, grab a wooden crate and a little elbow grease. You’ll have a solid, stylish plant stand in under an hour. And honestly, that’s the best kind of project, one that makes your home look richer than you actually are.
Now go find your dollar store and grab a crate. Your pothos will thank you. And if you try this, drop me a comment or tag me in your photos. I love seeing what other people do with budget finds.
#budgetplantstand #diyshelves #indoorplantideas #cheapdecor #plantdiy
Leave a Comment